Thursday, 3 October 2013

Birthday time!

So it was my mums birthday a couple of weeks ago and I decided to make her a cake - I say decided, it's kind of expected these days. Not that I mind. 

Anyway this is going to be a quick post because I don't have much time but here are some pictures: 


It was a lemon cake with lemon buttercream - I'm sure there's that recipe here? Not that it matters because nobody reads this but oh well. Lemon is my favourite. Anyway, that's it! I'm off now, bye!

Abbie x


Friday, 16 August 2013

Triple rainbow chocolate cake!

Wow, it has been so long since my last post! I'll start with an update- I am now 17 years old and currently doing A-Levels at school. I still do baking, just not as often now, too much school work! But I made a cake yesterday, and I thought I would share that and a few other baking projects I've done since leaving this blog so enjoy!

Firstly, here's the cake that I was baking until 1am last night, and decorated this morning: 


Excuse the photos, the iPhone 3GS isn't known for its camera quality right? So this was the cake after I'd crumb coated it, so the icing isn't perfect and especially not even (the icing used was Betty Crocker chocolate fudge icing, one pot managed to fill the layers and crumb coat the outside). 


Final product 


And then you cut into it and... Eighteen layers of rainbow goodness! Each little layer took ten minutes to bake and we had three tins, which is why it took so long! I kept the decoration simple because it was the inside that needed the attention, and I also didn't have much time!

And here is the first slice! 


I am so pleased with this cake, and it was definitely worth the time and effort! Here are the ingredients:

16 ounces of butter or margarine (I used Stork) 
16 ounces of self-raising flour
16 ounces of sugar (yes I know, it's basically asking for diabetes)
8 eggs
2 1/2 TABLESPOONS of vanilla essence 
1 and a half tubs of Betty Crocker chocolate fudge icing 
Americolor gel food colouring in super red, orange, egg yellow, leaf green, blue and purple (sorry I can't remember the names of these).

To make the cake - 

1./ cream the butter and sugar with an electric whisk 
2./ add one egg at a time (already whisked with a fork) and with it add one tablespoon of flour, whisk until mixed. Repeat this with the rest of the eggs.
3./ add the rest of the flour, and whisk.
4./ separate the cake mixture evenly into six bowls and add a couple of drops of food colouring to each bowl so you have each colour and make sure they are fully mixed.
5./ grease three cake tins, and divide one colour into the three tins
6./ bake at 170 degrees Celsius (fan) for 10 minutes
7./ repeat with each colour
8./ leave cakes to cool
9./ spread a very thin layer of icing on each cake build it up until all the layers are used
10./ spread a thin layer of icing on the top of the cake and round the sides (don't mind the crumbs showing in the icing) and chill for twenty minutes until the icing has set.
11./ take the cake out of the fridge and add another layer of icing so that the cake is all covered and even this with a spatula
12. / add any decoration you want and enjoy! 

Well this has been fun, I may start uploading again! Bye! 

Abbie x


Saturday, 9 June 2012

A bit of art for a change (:


Hey, I know this is meant to be a baking blog and all but I thought i'd show you all something different. As in my art work. Baking is my hobby but drawing/painting is aswell, and i know this sounds cheesy and so many people have said it before, but its what I do when i'm stressed out and/or don't want to talk to anybody. Which happens quite often. Which is probably how I ended up being nominated for "The quietest person in the year award" for the yearbook *sigh.* I know, it was really really really embarrassing. I'm quite shy, not that you would notice from these posts. Example A: English, i'm great at rambling on in essays and everything and i get good marks but as soon as it comes to speaking and listenening, I ended up with a D. Great! So thats my A gone down the drain:(

Anyways, back on topic, here are some of the pieces I did for my GCSE art and some other random stuff that i did in my free time(which is a rare occurence these days thanks to revision.) The first topic was pop art and the second was animals:


Ok, a bit blurry but it will do. This is a pop art piece i did of the UK singer ' Jessie J'


Heres another one of her, done under exam conditions ( I know i like the quiet sometimes but 2 whole days of complete silence is ridiculous.)


This is the owl that i painted, didn't go too well, the eyes went wonky but at least it gave me and my friend a good laugh.

A pencil drawing of a rabbit and a toy rabbit <3


A pencil drawing of my cat, Millie, half asleep

The same picture, just painted this time(:

And finally the other day, when i felt like punching a wall and bursting into tears, this is what i painted on my wall. Its a Beatles themed design thing, I'm a big fan of The Beatles by the way, got a T-Shirt and everything that I wear practically every day.

Yeah so I will be posting more baking soon, I've got loads of things i've made but not had time to blog because of these stupid exams all the time.

See Ya!!


Thursday, 5 April 2012

How to make sugar cookies.

I didn't make sugar cookies until a few months ago when i first visited Bake at 350 ' s blog, and even the  i only tried a simple design because although they look AMAZING  they're a little daunting to say the least. A few weeks ago i made a hello kitty cookie for my food technology gcse coursework and everybody loved them because they looked so cute! And then last week, while checking the hundreds of blogs that i seem to read, i came across Lilaloa's cookie contest and decided that i absolutely NEEDED the prizes, although after seeing everyone elses designs, i think thats nearing on impossible.

Anyways, back to making the cookies, i followed this recipe but using 1 1/2 teaspoons of vanilla and not using any almond extract.


The dough should look something like this, but i found it was a little sticky at first so i kneaded  a bit more flour into the dough so it was easier to roll.


Using a cutter is a lot easier than stencils, especially when the stencil has 14 sides. *sigh* Anyway cut out the stencil and then cut the cookie dough around the stencil with a knife.

This is what thedy looked like after i'd cut them out, quite cute aren't they?


When the cookies have cooled a bit, draw out the design with edible pen. I use the americolor ones that come in a 2 pack from The cake decorating company in Nottingham.

Then trace the outlines, where you have drawn on in pen, with royal icing. All the outlines with my designs were black so thats the colour that i coloured the icing.(p.s. don't make the mistake of thinking glace icing is the same as royal icing. It isn't!)

Then colour the icing all the different colours you need, and add water until its the consistency of golden syrup or something similar.(p.s. use a toothpick to get into the corners of the cookies and to pop any airbubbles)

So thats it! After i used the edible pen again to draw on the details like the eyes and faces. Simple! (kind of.....)
See below posts to see the finished designs, and don't forget to check out Lilaloa's great competition.

Abbie x

Wednesday, 4 April 2012

Cookie contest!

Heres the miffy cookie:

Cookie contest!

Heres the powerpuff girl:

Cookie contest

Heres the green pig from angry birds:

Cookie contest

Heres the green angry bird:

Cookie contest

Here's the yellow angry bird:

Cookie Contest!

So Lilaloa is having a cookie decorating contest and here's the task:

Bake a cookie using this cutter. If you don't have this cutter, that's okay, just print out this high-tech sharpie version (or trace it right on your computer screen. It's the right size.) and then hand cut a cookie or four. And then decorate that cookie to look like anything except a present. That's it. Easy peasy. You can cut off parts of it if you want, or add pieces if you need to. Just make sure that we can tell it came from the present cutter to begin with.


In the end i decided to do angry birds, miffy (the cute little bunny) and a powerpuff girl, not quite sure which one but oh well :L
 
Red Angry bird:
Yellow angry bird:
 
 Green pig from angry birds:
Green angry bird:
Powerpuff girl:

Miffy:

Enjoy!


Wednesday, 1 February 2012

Gold bling cake!

So a while back me and my cousin made this cake. Sorry it took so long to upload it, the photos were on my old computer and i only just transferred them. Anyway, i will say no more, i think the cake speaks for itself!

It has 6 layers!


To make it you will need:

12 ounces flour
12 ounces marg
12 ounces sugar
6 eggs
blue ( or a different colour if you want) food colouring
12 ounces flour ( take about 3 tablespoons out and replace with cocoa powder, more if you want a really strong chocolate flavour.)
12 ounces marg
12 ounces suagr
6 eggs

Just a few ingredients then!

You'll need to make the two different mixtures in different bowls you can either

 a.) put all the ingredients in a bowl and whisk. i.e the method you use when you can't be bothered or are in a rush or just like to make things easy.

b. ) cream the butter and sugar together until light and fluffy. Add one egg and a teaspoon of flour and whisk until all the ingredients are used.

Spoon the mixture into different round cake tins but if you don't have enough, which we didn't, you will have to put them in the oven at different times.Annoying i know. Bake for 25-35 minutes at 180°c or until a wooden skewer comes out of the cake clean.

After the cake has cooled level the off with a knife and eat the waste cake :D Layer the cake with Better Crockers "Chocolate fudge frosting" and then cover the outside of the cake. and then for the fun bit.
Spray the whole cake with Dr Oetker gold shimmer spray and the eat a slice.

Yum.

Saturday, 26 November 2011

Children in need bakesale!!

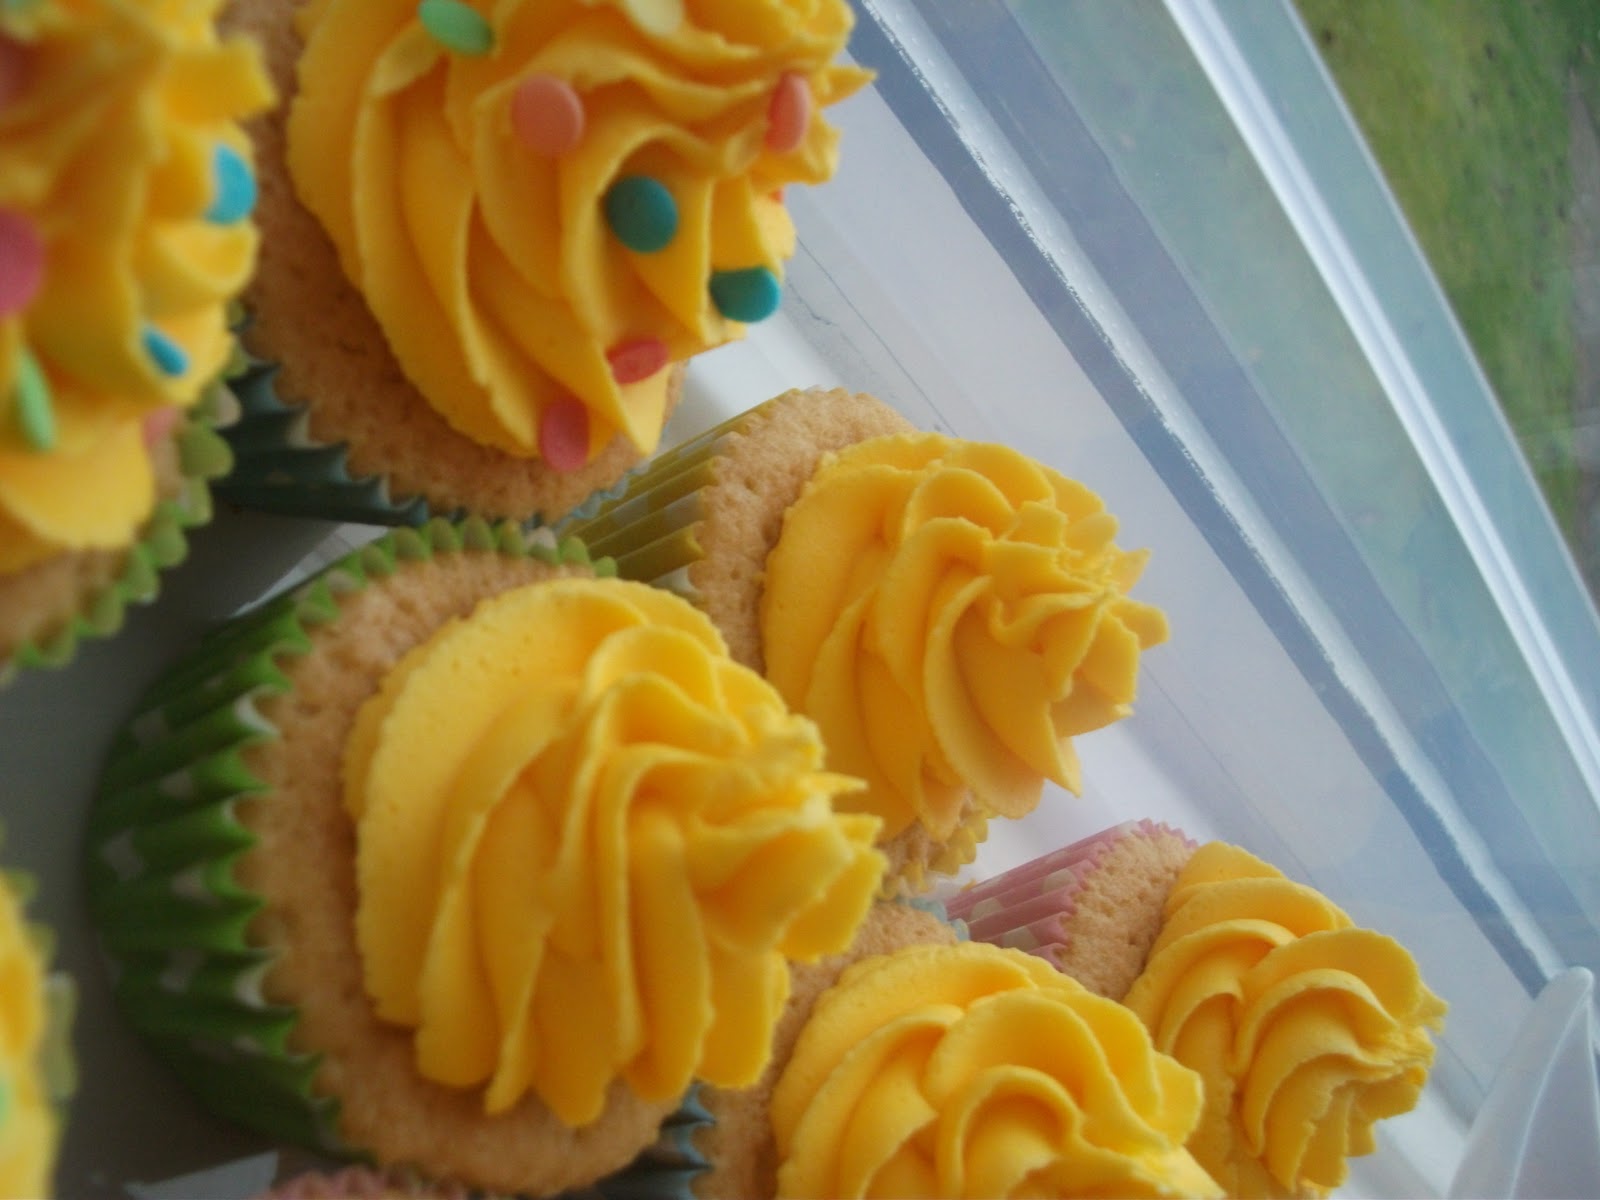
I know its a bit late and i haven't posted for a while but i thought i'd show you the cupcakes i made for children in need and how to make them.


 Plain and with sprinkles
Cupcakes with fondant buttons (I'll tell you how to make them in this post)


For the cake i used plain vanilla sponge:
8 ounces butter
8 ounces sugar
8 ounces Self raising flour
4 eggs
1 1/2 teaspoons baking powder
2 teaspoons vanilla extract/flavouring/essence

Preheat oven to 180°c (fan)
1. Cream the butter and sugar together with an electric mixer, until light and fluffy
2. add 1 egg and a tablespoon of flour then mix until combined, repeat until all eggs have been used.
3. add flour, vanilla and baking powder and mix until combined.
4. Line 2 muffin trays with 12 paper cases or grease well
5. I use an ice cream scoop to put the mixture in the cases but a tablespoon and teaspoon will work fine. You don't need to even it out, it will do this in the oven on its own.
6. Put in oven for 12-15 minutes or until a knife or skewer comes out clean when put through the cupcake.DON'T OPEN THE OVEN DOOR BEFORE 10 MINUTES BECAUSE THE CUPCAKES WILL SINK IN THE MIDDLE!
7. Leave them to cool before decorating

For the buttercream i used:
225g unsalted butter (at room temperature)
450g icing sugar
2 teaspoons vanilla flavouring
A few drops of yellow food colouring until you get the colour you want ( I use americolor gel paste, egg yellow )

1. Whish the butter and icing sugar with an electric mix until light and fluffy. Add the vanilla essence and a drop of food colouring at a time, whisk again. If the colour isn't dark enough, add another drop whisk and so on.

Tuesday, 27 September 2011

Pie Cupcakes!

I got the amazing Hello Cupcake! and What's new Cupcake? books from my birthday. I decided to make the pie cupcakes and heres how they turned out :


I would seriously recommend buying these books, i think mine were from amazon but you can probably gets them from other places aswell

Abbie x

New baking stuff!!

I went to a shop in Nottingham(link below) the other week and guess what i bought?! AMERICOLOR FOOD COLOURS! I have been wanting them for ages and they are so cool plus they colour really well. Heres a few pics along with some other things i bought:


Rainbow!


Heres the link for the shop: http://thecakedecoratingcompany.co.uk/catalog/

Abbie x

Friday, 26 August 2011

Valentines Cupcakes?

Ok i'll just get straight to the point, these are the cupcakes i made earlier today. Vanilla sponge coloured pink althought its not very obvious in the picture:


I made chocolate buttercream and piped it from the centre outwards to make it look like a rose, then sprinkled little heart sprinkles. I think they turned out pretty cute, here's the recipe for the buttercream:

100g butter/marg
150g icing sugar
50g cocoa powder

(This probably decorates about 10 cupcakes, also if you want the chocolate flavour stronger take some of the icing out and add more cocoa powder.)

Cinnamon, ginger biscuits and very tasty cupcakes :)


Our local shopping centre has just got a brand new pretzel stall, which has the nicest cinnamon pretzels EVER. So i decided to do something cinnamon based, cupcakes of course! I used a regular cake recipe adding cinnamon at the end ( recipe below ) but decided that it could use some different flavours, and as i'd been to IKEA recently and bought "ginger thins" i decided to use them in the recipe as well. This is how they looked not decorated:

Sorry about the photo quality, my camera'snot very good
It wasn't me who ate it, i promise
 Recipe - makes 12

4 ounces sugar
4 ounces marg
4 ouncesself raising flour
2 medium eggs
Teaspoon of vanilla flavouring (optional)
2 tablespoons of cinnamon (add more or less if you want)
4 ginger biscuits
Icing sugar
Water

1./ Pre-heat the oven to 180°c (fan).
2./ Cream the butter and sugar together with a electric whisk until light and fluffy.
3./  Add 1 egg and a tablespoon of the flour(to stop the egg from curdling)then whisk until combined. Add the other egg and another tablespoon of the flour and whisk until combined.
 4./Add the remaining flour and whisk in with the cinnamon.
5./Put 3 of the biscuits in a sandwich bag and hit with a rolling pin untilbroken into small pieces and crumbs.Mix these in the cake mixture then put the mixture into a piping bag and pipe into cupcake cases which have been placed into a muffin tray.
6./ Smooth the mixture in the bun cases and put the remaining biscuit in a sandwich bag and hit until it is fine crumbs.
7./Sprinkle this over the mixture but don't mix in.
 8./Place the cupcakes in the oven for 10-15 minutes. Don't open the oven before 10 minutes otherwise your cupcakes will sink in the middle.To check if they are done, put a skewer in the middle of the cupcake, if it comes out clean they are done.
9./Take out of the oven and place on a coolling rack or bread board to cool before decorating.
10./ When cool, place the icing sugar in bowl and keep adding teaspoons of water until the right consistency.
11./ Dribble the icing over the cupcakes.

This is the cupcakes after they have been decorated :
Abbie x